For the last couple of years I have been trying hard to get my passport, but friends kept telling me I required a whole lot of documents, which seriously I either didn’t have or else never bothered to get them. Although my wife started nagging me to get my passport about 3-4 years back I always feared that my application will be rejected – something which pulled be back from going to the passport office.
I require an address proof and the ones I had were not accepted by the passport office. Plus there is a whole lot of confusion regarding the documents you actually require in the first place.
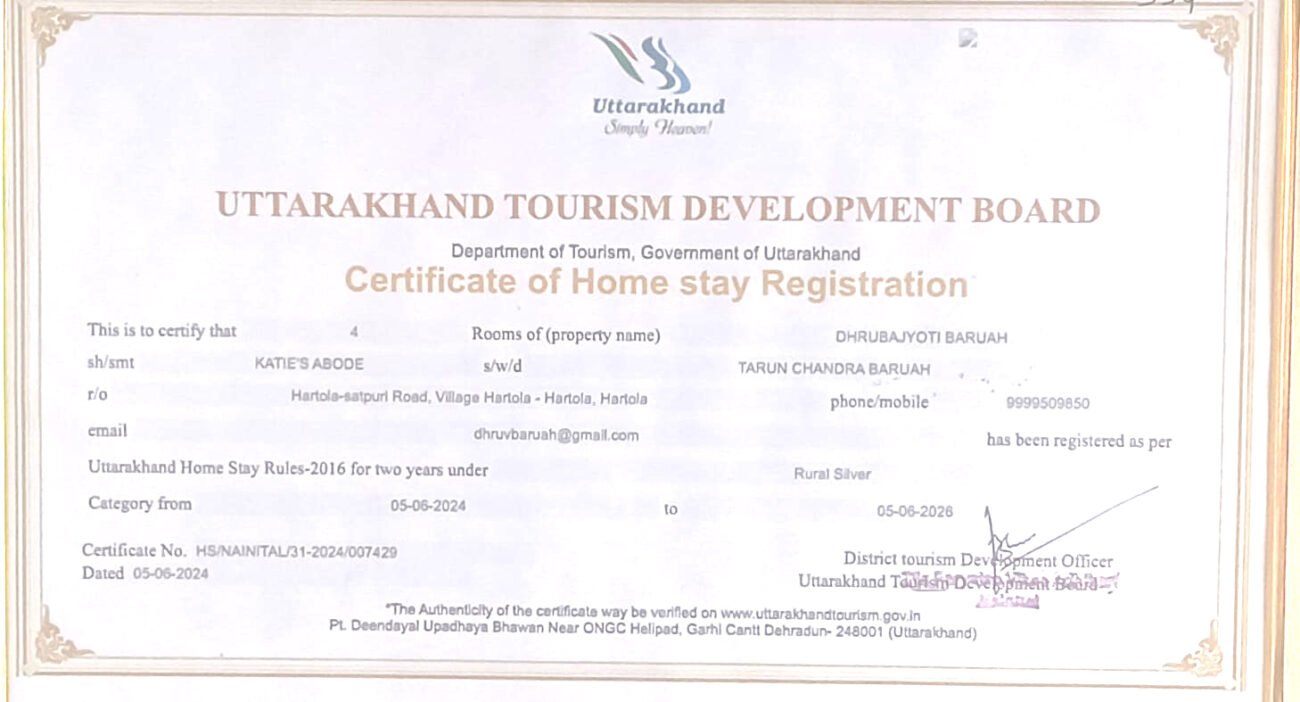
But finally last Friday I successfully submitted my application and contrary to all the confusion, all I needed was my 10th certificate to prove my date of birth and my voter’s card as my ID and address proof. Hopefully will get my passport in a month’s time (fingers crossed).
Now the purpose of this article! The article is meant for all those who will be applying for a fresh passport (tatkal or normal) and are not sure whether they have the required documents. Plus I will share my experience in the Passport Seva Kendra (PSK) and a step by step procedure on how to go about it.
Ideally you need an address proof that has your photograph. If not, your address proof should be supported by an ID proof. Since the list of the documents that are accepted are given in the Passport Seva website, I will not list them here. Yes, I will definitely add, that unless you have a year (or more) old bank account in a nationalized bank don’t bother to apply. The same goes to your Aadhaar card (if it’s not more than a year old). Airtel, Vodafone or any other private telecom company bills are not accepted too. The same goes for Driving Licence (DL) – it can be used as an ID proof but not as address proof.
OK, let’s say you have the documents and you have taken an appointment. I personally feel that it’s best to apply online and also pay the requisite fee online. This will cut down on the time required for the process in the Passport Seva Kendra (PSK).
Now you have taken an appointment, and paid the fees. You can upload the supporting documents too, but when I asked the person in the Passport Seva Kendra (PSK), he said it hardly helps and was of no use. But even if you want to, make sure you convert them into .pdf because that’s the only format they accept.
On the day of the appointment, take the copy of the submitted form, the payment receipt and application receipt. Take a copy of all the supported documents along with their originals. There is no need to paste your photograph if your appointment is in a Passport Seva Kendra (PSK). But most importantly go with time in hand.
Go on time – not too early, not late obviously. Why I say ‘go on time’ is because if you go early, you will not be allowed to go inside and will thus only be wasting your time outside.
OK, now it’s time and you are inside. From here on the process goes like this:
-

The typical General Check area of a PSK will look like this
You will start from the general check area where there will be a couple of counters. Take the queue leading to one counter. Keep your documents – both originals and photocopies ready. If you haven’t paid the fees, you can pay it in one of these counters. They will take a look at the documents, match them with the originals and the particulars you had entered in the form. Once they find everything in place they will put your form and the photocopies in a brown file and hand it over to you. Please note, now that you have this brown file, your form is an official document and you can’t take it outside in any circumstances. If you have to go outside, you will need to submit the file and take an acknowledgement slip.
- Now, you will enter the area where the actual process will start. If you are being accompanied by someone who is not applying for a passport, she/ he will not be allowed to enter.
-

Keep a eye on the display board where your token No. along with the counter No. will be displayed
The security opens the door and only and only the brown file qualifies to enter the section. Go inside and there is a waiting area. Show the file to the person sitting behind the desk and you will be given a token number. It’s not a token – the one you get in the bank, but will be written on the file. The number will be prefixed by either N(normal), T(tatkal), W(ward/ kids/ children), and E(Elderly/ senior citizen), based on your application. If you have applied for a passport on Tatkal quota then you token number will look something like T108, otherwise it would be N108, etc.
- Once you get the token number, just relax with eyes on the display board. Your next step will be at COUNTER/ SECTION A. The section comprises several cubicles starting from A1 and goes A2, A3, A4, etc. Anyway, the display screen will show your token number and the cubicle of SECTION A where you need to go. Tip: Be patient. The process in A Section takes time so your turn might come after several minutes. There will be a coffee shop inside. So why not enjoy a cup of beverage!

View of the Section A at the Passport Seva Kendra (Photo courtesy: TOI)
- So your turn has come. Hand over the file to the official and get ready for your photograph to be clicked. Hand over the originals to be scanned. The fingerprints of both hands will also be taken. The person here will take Rs. 30 to enroll for the SMS Services. The service is actually optional, although it’s more or less a done thing to pay for the service. You will be given a receipt of the same and once everything is done you will be handed over the file and you are ready to wait for your turn in COUNTER/ SECTION B.
- Your name will be flashed on the display board and you need to go to the designated cubicle. This is the section that also takes a little time, so patience is the key. Here all the original documents will be thoroughly checked. The guys are very meticulous and any discrepancies they find vis-à-vis entries in your form, and the documents required, you may be heading home halfway. A couple of persons just before me were returned as they couldn’t satisfy the officials.
- If everything goes well and the official is satisfied, you need to proceed to COUNTER/ SECTION C. This is basically the Grants Section. The documents are given a final glance and you can submit the file at a counter near the exit. You will be given an acknowledgement and you are now good to exit…phew!


Now all you need to do is wait for the police verification. It ideally takes 10 days to a month. You can follow the status on the website too. Invariably you get SMSes on any updates too.